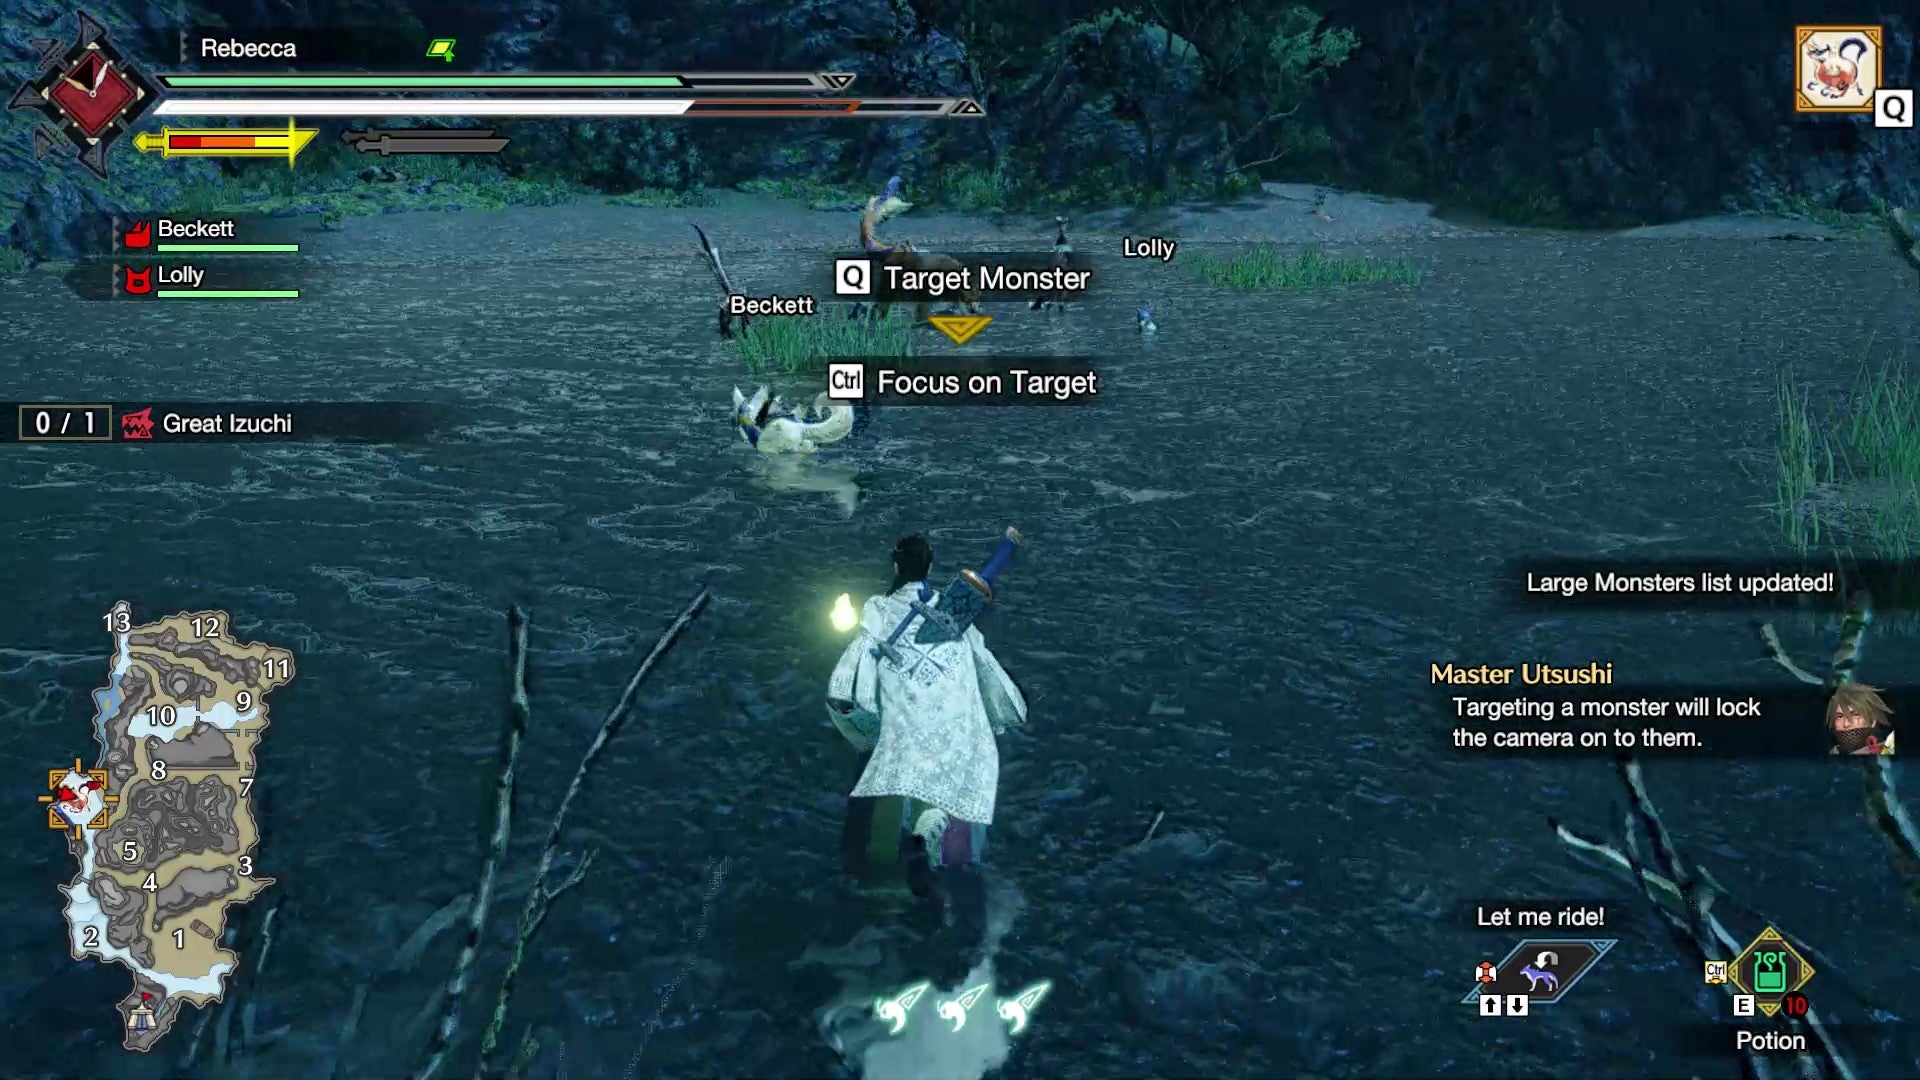
On this page, we’ll cover how to lock onto a target both on the map and using camera controls when playing Monster Hunter Rise on PC.
How to track a target in Monster Hunter Rise
Large monsters in Monster Hunter Rise get their own icon on the map that tracks their location as they move around. Before you encounter and identify them, they’ll be represented by a question mark symbol; once you know what they are, they’ll instead have their own species icon. This is useful, as it means that you don’t completely lose track of a monster you’re hunting when it runs away from you. However, if there are a couple of different monsters of the same type on the map, you can still end up getting confused quite easily, especially if they cross paths. Hunting one large monster is tough enough, without accidentally wasting time wearing down two different creatures’ health bars. So in order to keep track of the monster you’re hunting, press Q to mark the monster you want with an orange diamond that will highlight its location on the map. Furthermore, if you look in the upper right-hand corner of the screen, you’ll see little icons representing every large monster on the map. Your selected monster’s icon will have a gold box around it. If there are several, keep pressing Q to highlight different ones until you’re tracking the monster you want. The monster you’ve selected in this way will also be the target of any camera focussing you do.
Using the Targeting Arrow in Monster Hunter: Rise
Another tool at your disposal for tracking locked-on prey is the Targeting Arrow. With this optional enabled, any time you leave camp you’ll see a glowing reddish-orange arrow in front of your hunter. This arrow shows your current best route towards the locked-on creature. By default this is turned off, but you can switch it on in System Settings under the Game Settings > Options menu.
How to lock the camera to a target in Monster Hunter Rise
When your locked-on prey is actually in sight of you, you can track them directly using the camera. Monster Hunter Rise features a couple of different camera options to help you do this. Press Esc and scroll through the menu until you reach System Settings > Camera Style. You can then choose from three different camera options:
Target Camera: This is the default camera setting of Monster Hunter Rise, but it may not actually be the best one for many players. To follow your target with the camera, you need to press Ctrl any time you want to recentre them in your field of view. Focus Camera: This is the best to use if you’re new to this game (even if you’re familiar with older Monster Hunter titles). When your target monster is in sight, the camera will automatically centre on them. Do Not Focus On Target: This option turns the whole thing off if you’d prefer to neither automatically or manually focus on your locked-on monster.
Now that you know how to lock on to your prey in Monster Hunter Rise, you’ll need to know how to take them down. Take a look at our guide to choosing the best weapons in Monster Hunter Rise to help you pick the perfect loadout for you. And if you’re hoping to bring some of your friends along on the hunt, see our guide to initiating Monster Hunter Rise multiplayer.
