On this page:
What is a Valheim Workbench? How to upgrade a Workbench in Valheim How to build a Workbench in Valheim How to cover a Workbench in Valheim
What is a Valheim Workbench?
The Workbench is one of the key devices at your disposal in Valheim. It should be the first thing you craft with your Hammer tool. With a Workbench, you can:
Craft new and more complex tools and items; Repair damaged or broken tools; Upgrade your tools and weapons; Build and deconstruct building parts nearby.
When you place down a Workbench, notice how a circular area around it is highlighted. This is the Workbench’s area of effect, and most building parts can only be placed if you are standing inside this area of effect. Below we’ll go over how to upgrade a Workbench to unlock more building and upgrade options. But if you’re still struggling to get a Workbench up and running, just skip this section and head down to the sections on how to build and adequately cover a Workbench.
How to upgrade a Workbench in Valheim
To upgrade a Workbench, you need to place down certain additional buildings with the Hammer tool. You’ll know which buildings will upgrade a nearby Workbench because they have a gold star in the top-left corner of their icon in the build menu. You’ll need to place each one of these buildings very close to the Workbench in order for it to be upgraded. While placing, you’ll see gold sparks connect the Workbench to the piece you’re placing if it is close enough to take effect. Placing multiple of the same type of upgrade building won’t have any effect. You’ll need one of each type of upgrade building to upgrade your Workbench to the highest level. These buildings are:
Chopping Block (10x Wood, 10x Flint) Tanning Rack (10x Wood, 15x Flint, 20x Leather Scraps, 5x Deer Hide) Adze (10x Fine Wood, 3x Bronze) Tool Shelf (4x Iron, 1x Fine Wood, 4x Obsidian)
Note that for the latter two upgrades, you’ll need to have a Forge built nearby as well. The order in which you place these upgrade buildings doesn’t matter. Each unique building will simply increase the level of the connected Workbench by 1, allowing you to upgrade your tools one additional level, and unlocking new things to build with the Workbench.
How to build a Workbench in Valheim
Building a Valheim Workbench is incredibly easy. All you need to do is gather 10 Wood (if you don’t have an Axe yet you can still do this by scavenging branches and punching smaller plants and bushes). Then equip your Hammer, right-click to open the build menu, select the Workbench from the Crafting tab, and place it down on some flat terrain. But you won’t be able to use this Workbench until it has a roof and is protected from the elements. So let’s discuss the next step.
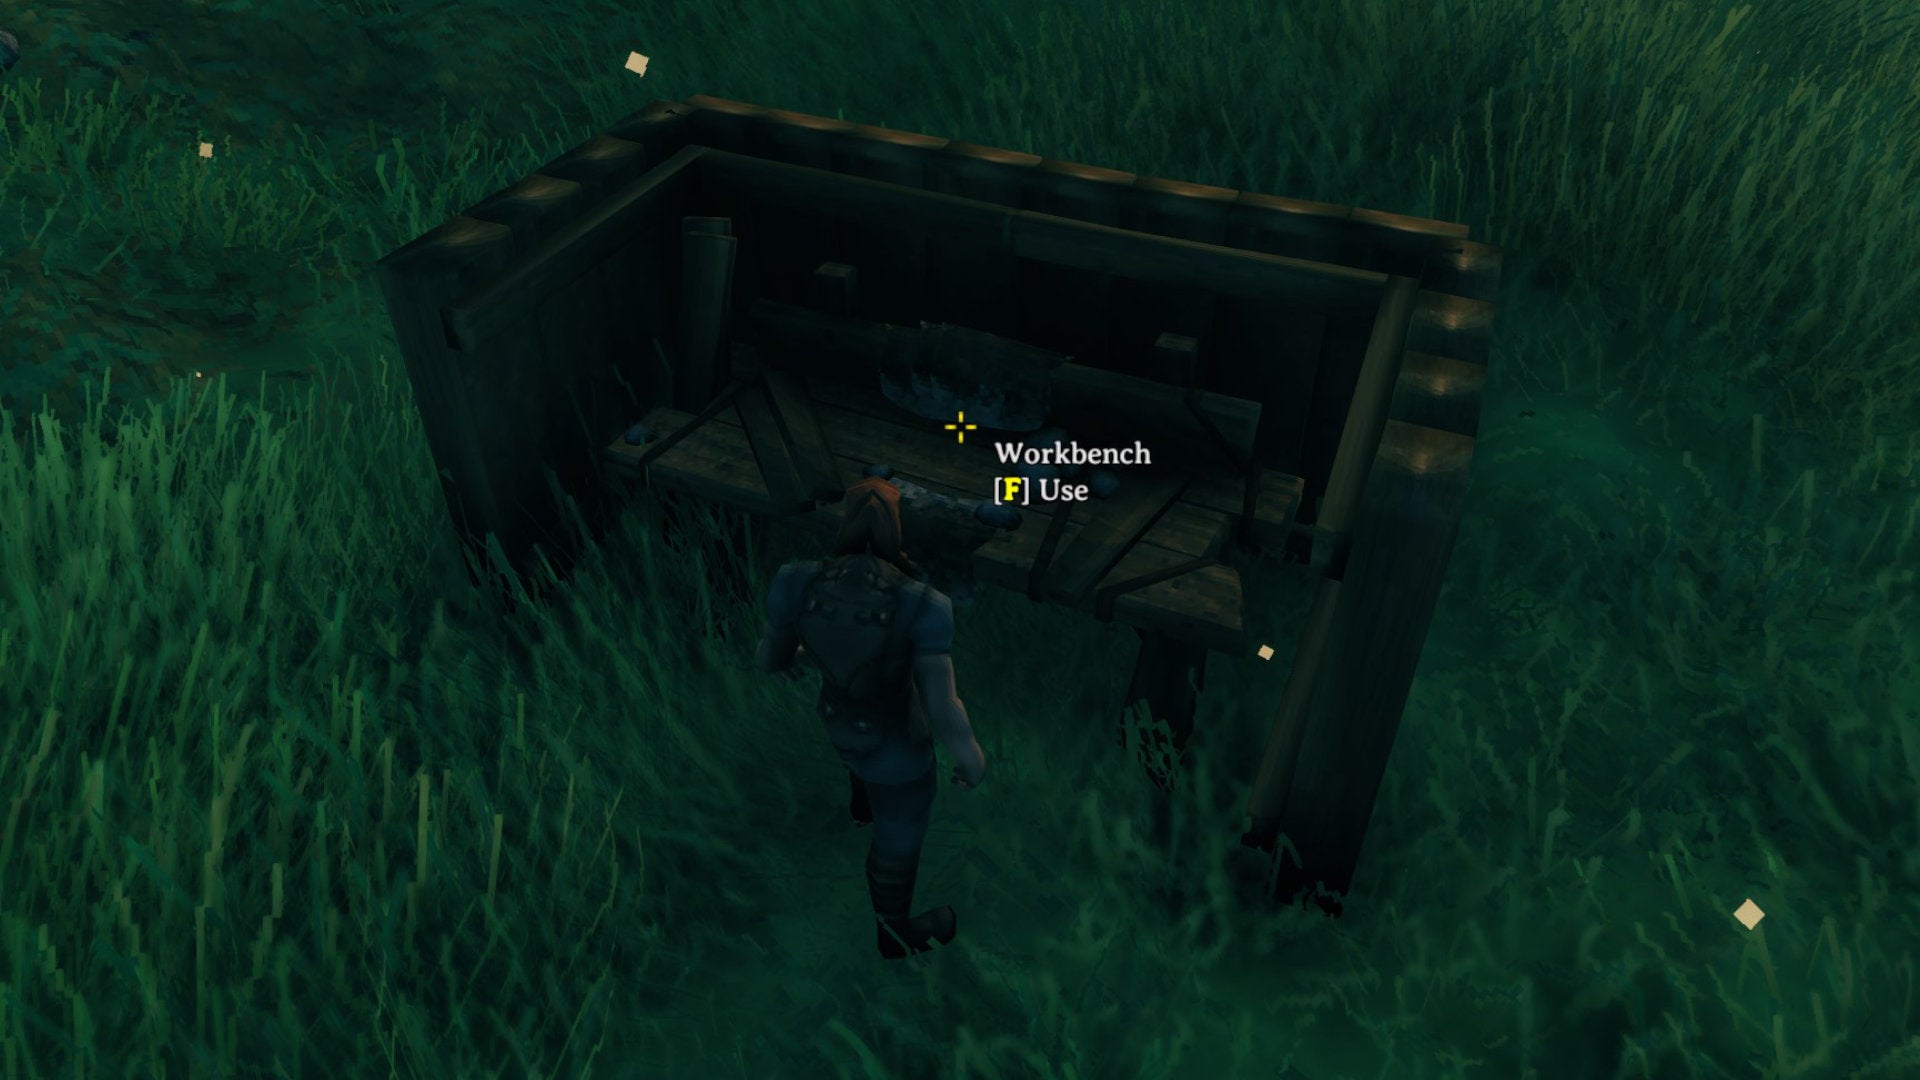
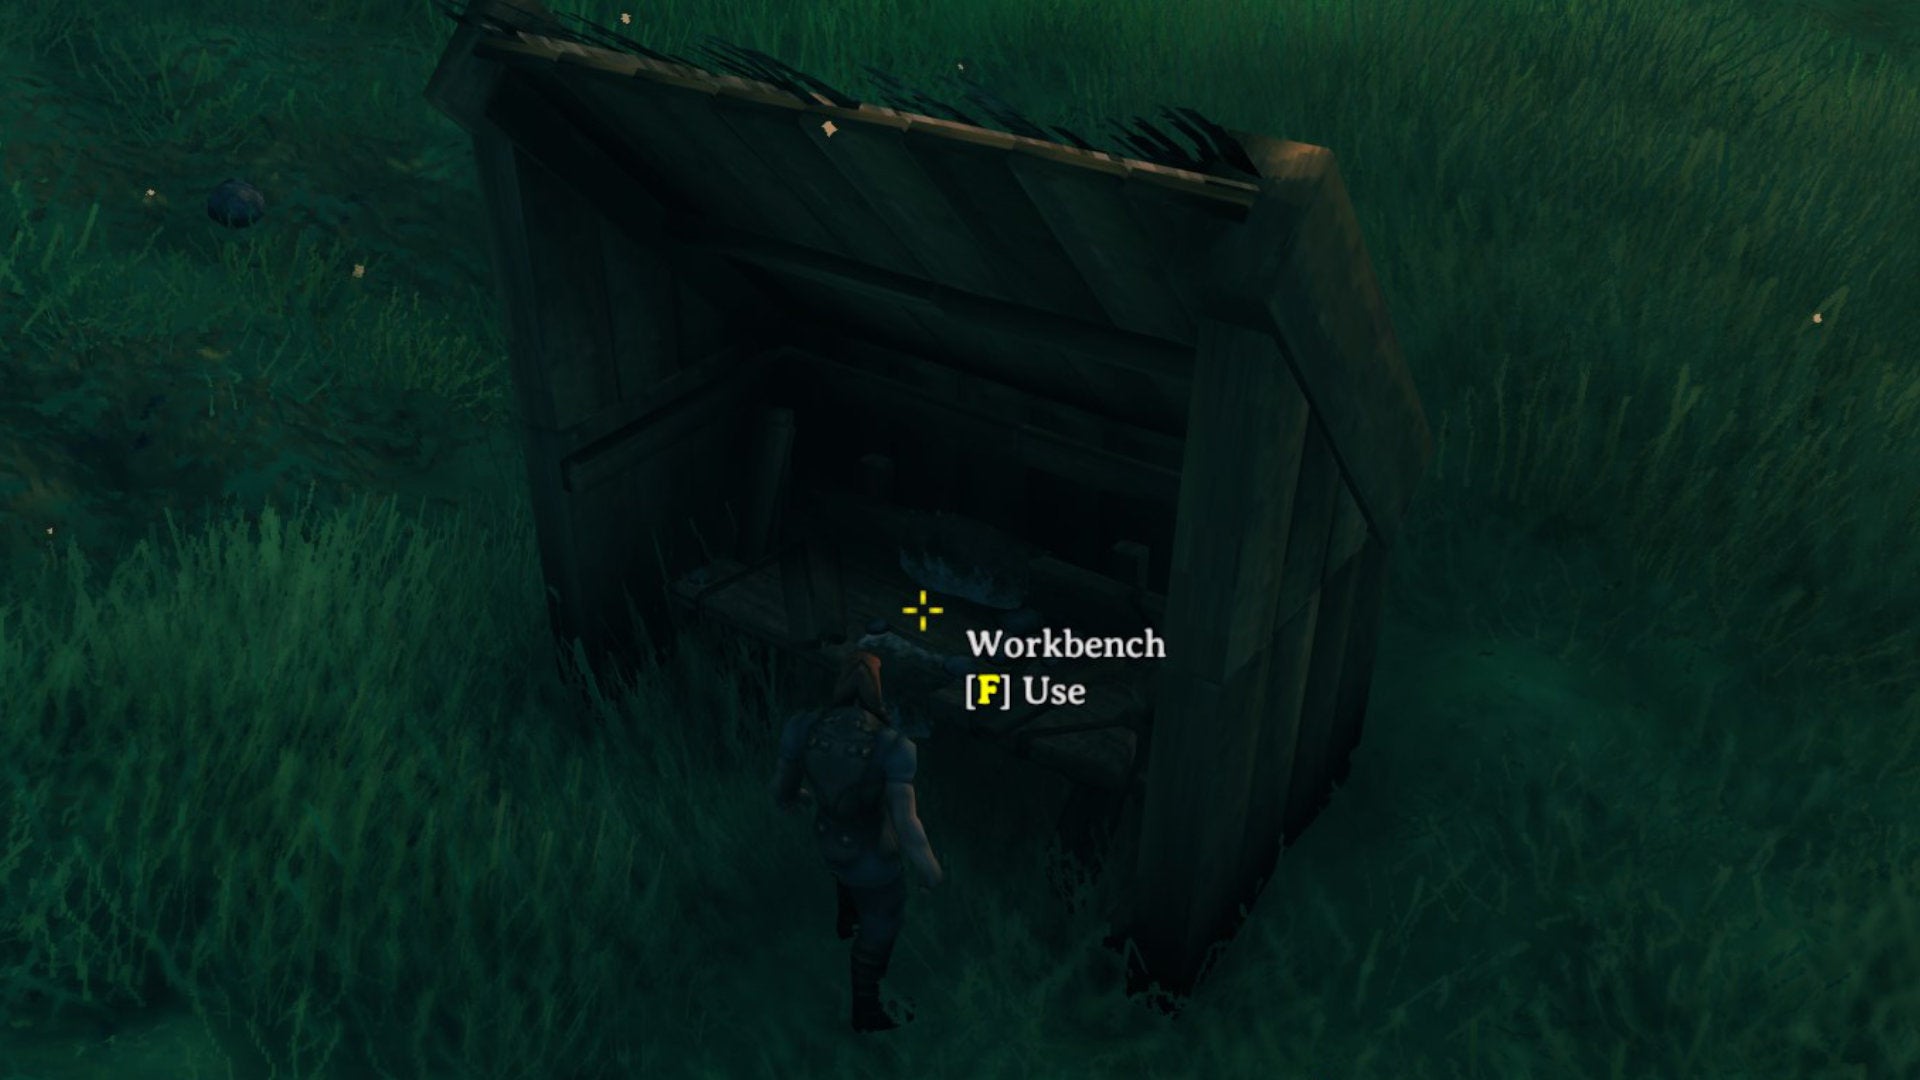
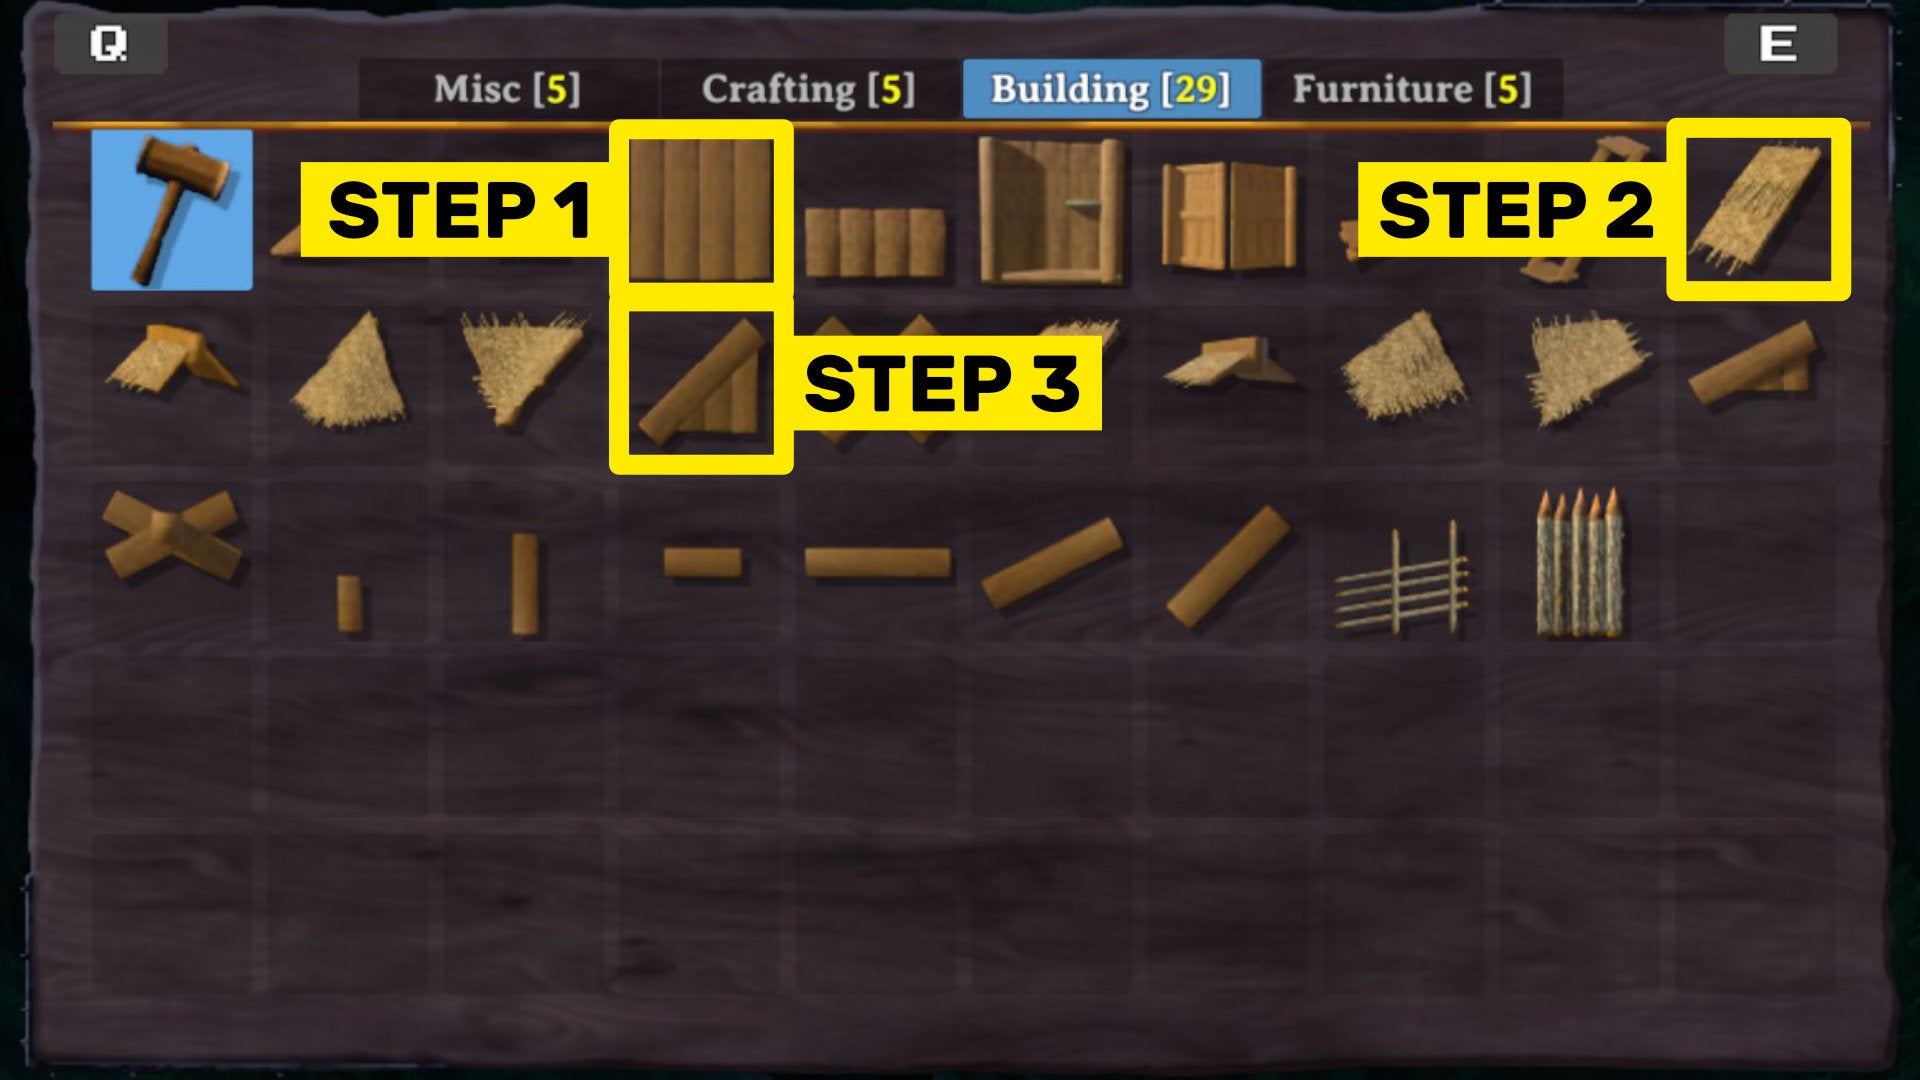
How to cover a Workbench in Valheim
If a Workbench in Valheim is considered open to the elements, then you won’t be able to interact with it. So, you’ll need to cover it and roof it adequately. To do this, you’ll need to gather more wood so you can place walls and roof tiles around and above the Workbench. Here’s one simple method for covering a Workbench: Feel free to consult the below images: Bear in mind that if the wind is strong and travelling towards the open part of your Workbench build, then the Workbench still won’t work, so you’ll need to build more wall and roof tiles extending outwards until it is considered fully covered. And with that, you now know everything there is to know about the Workbench in Valheim! Now why not read our guide on how to set up a Valheim dedicated server so you can play with your friends, or our list of all the Valheim console commands and cheats on offer?